WOVEN WIND BREAKS
Technically my sister Caroline is younger than me - yet for most of our life, I have found myself referring to her on nearly every move I make. She has an enviable level of common sense and a practical approach that is tempered by outrageously good taste and high creativity.
She also HATES waste. The day I headed out to photograph her woven windbreaks at her family’s new property ‘Kapua’, I was in desperate need of her viewpoint on a big decision my husband and I were contemplating. While listening and offering her welcome thoughts, she stood at her kitchen bench processing a large bag of lemons she’d rescued from a friend’s cocktail party where they were surplus. She had pulled them out of her freezer and was grating their frozen rind to freeze once again for later use. The patchy naked fruit was then laid out in the sun to warm up before being juiced - also to freeze.
This activity is highly reflective of the way she lives her life and her achingly attractive but functional woven windbreaks are in a way an extension of this ethos.
Only just starting their landscaping, they have been in their new home since early winter. A wall will be constructed between the round vegetable beds and the house to create a sheltered courtyard.
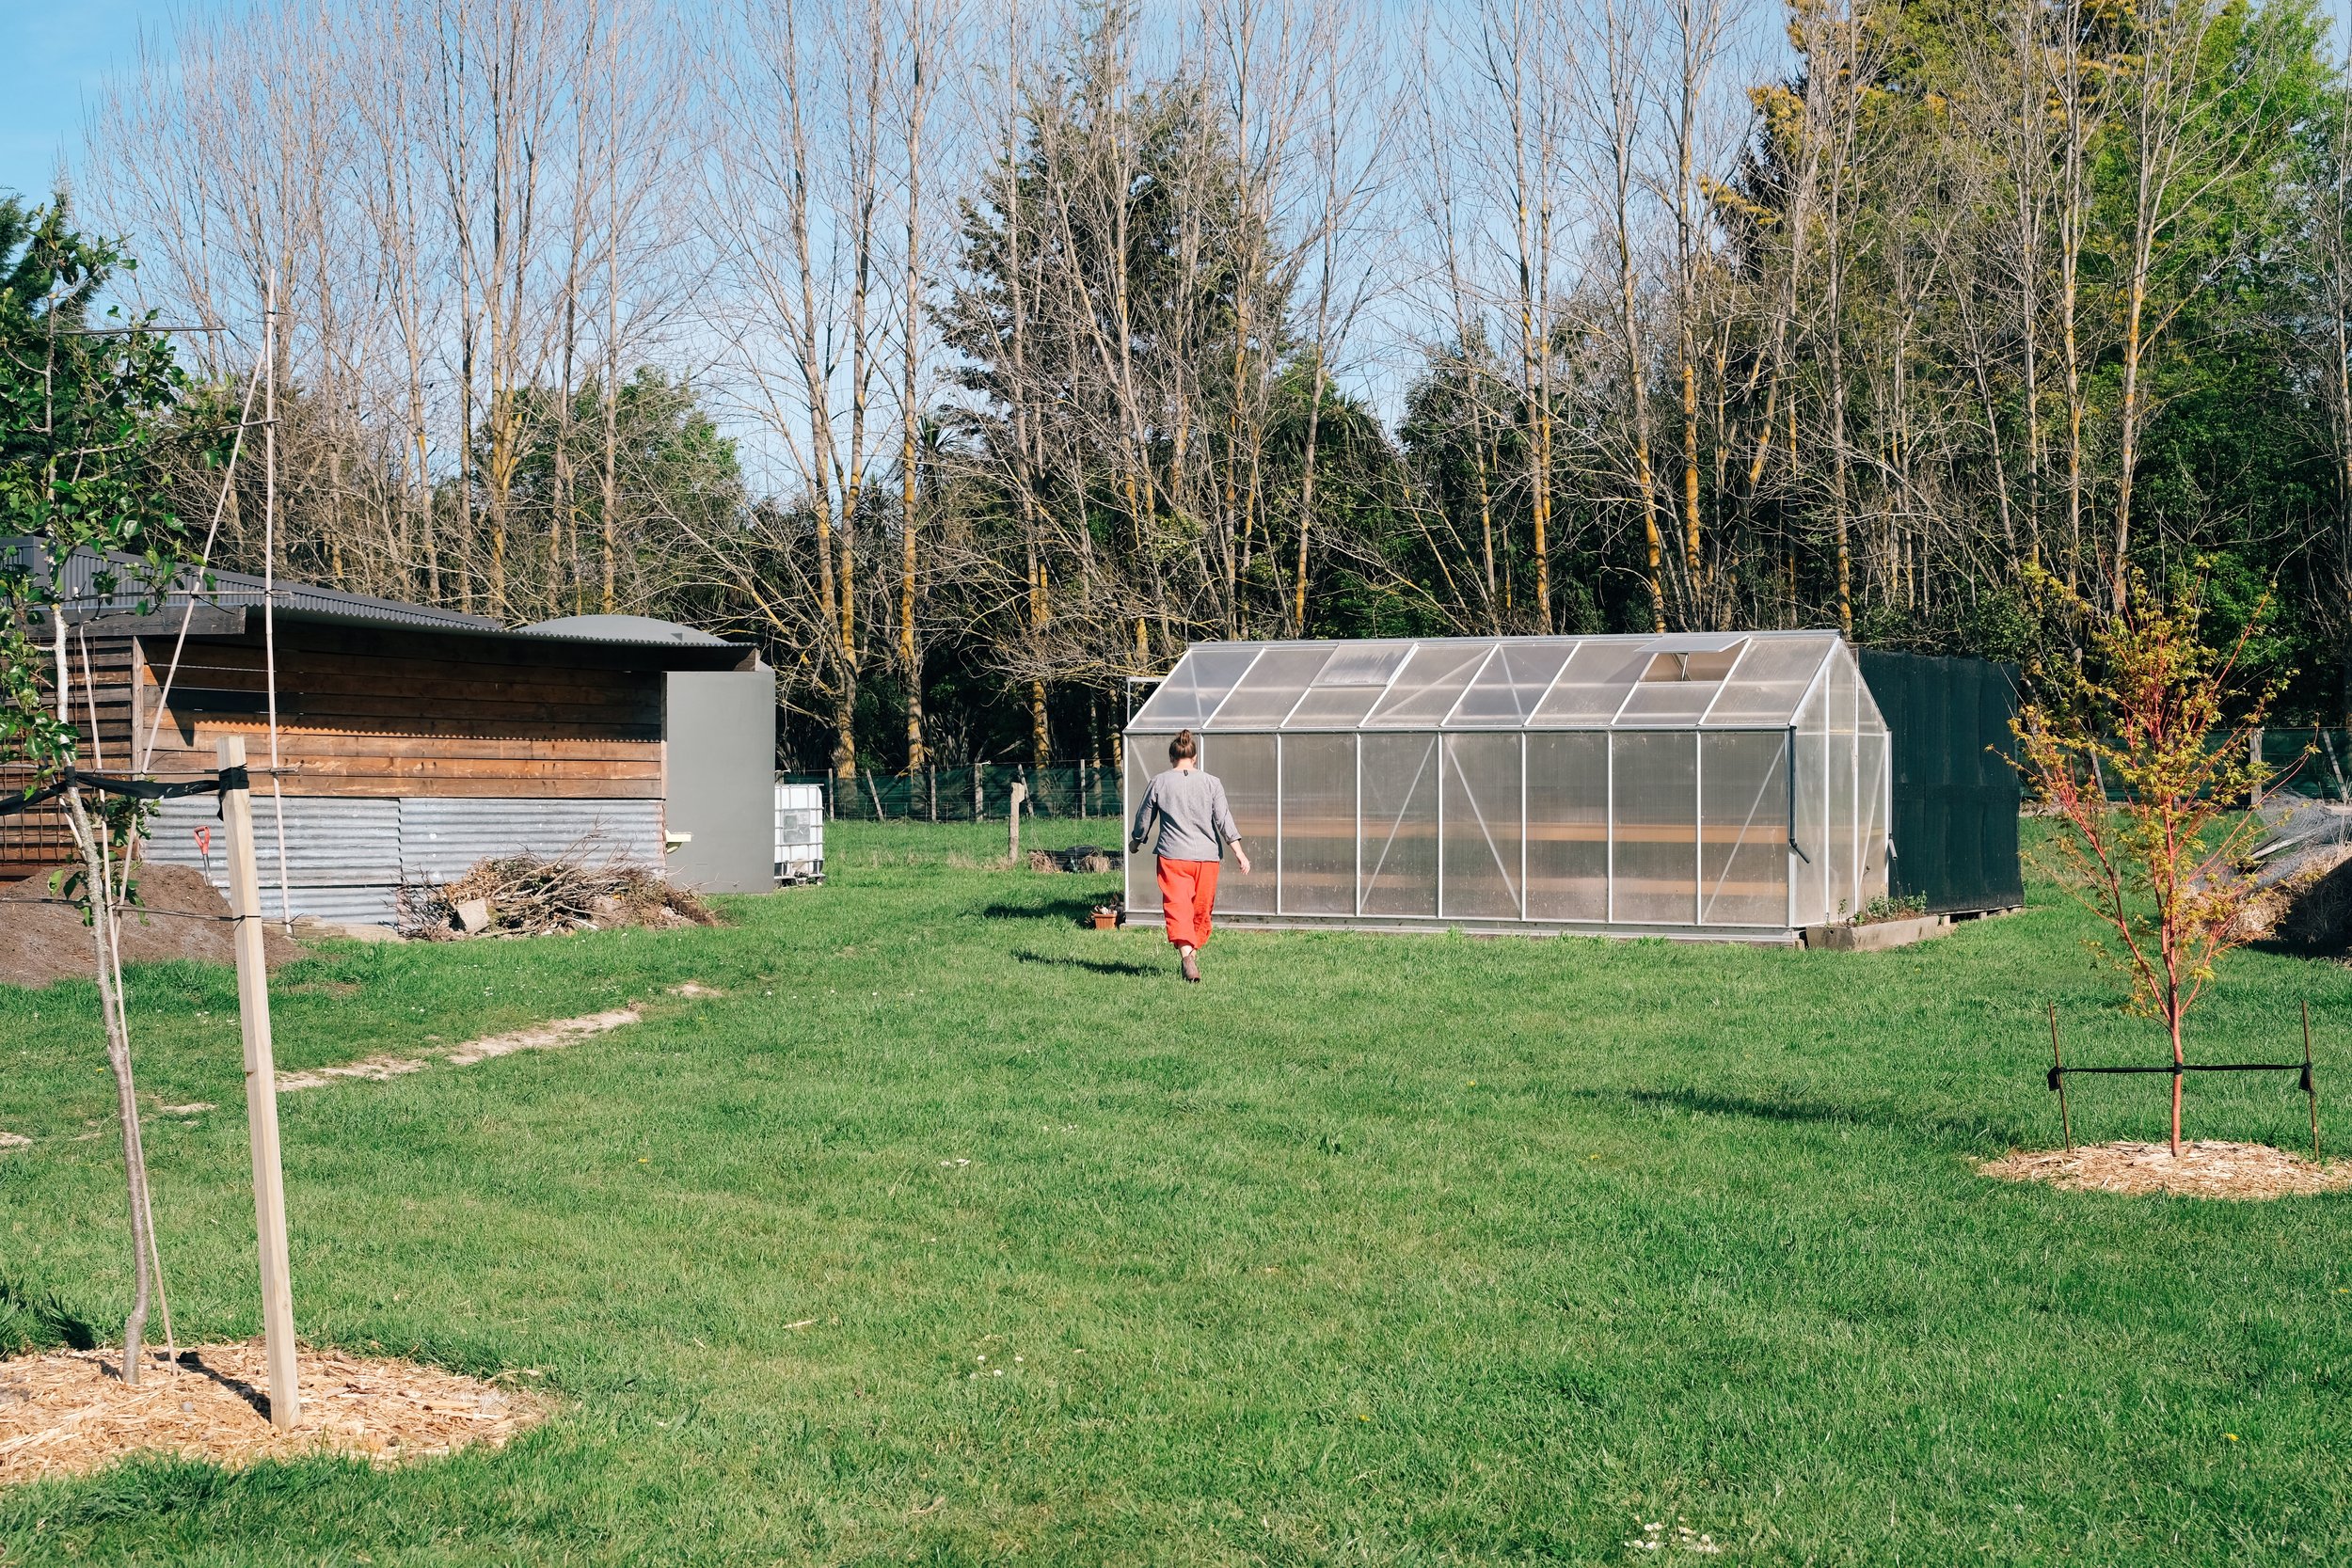
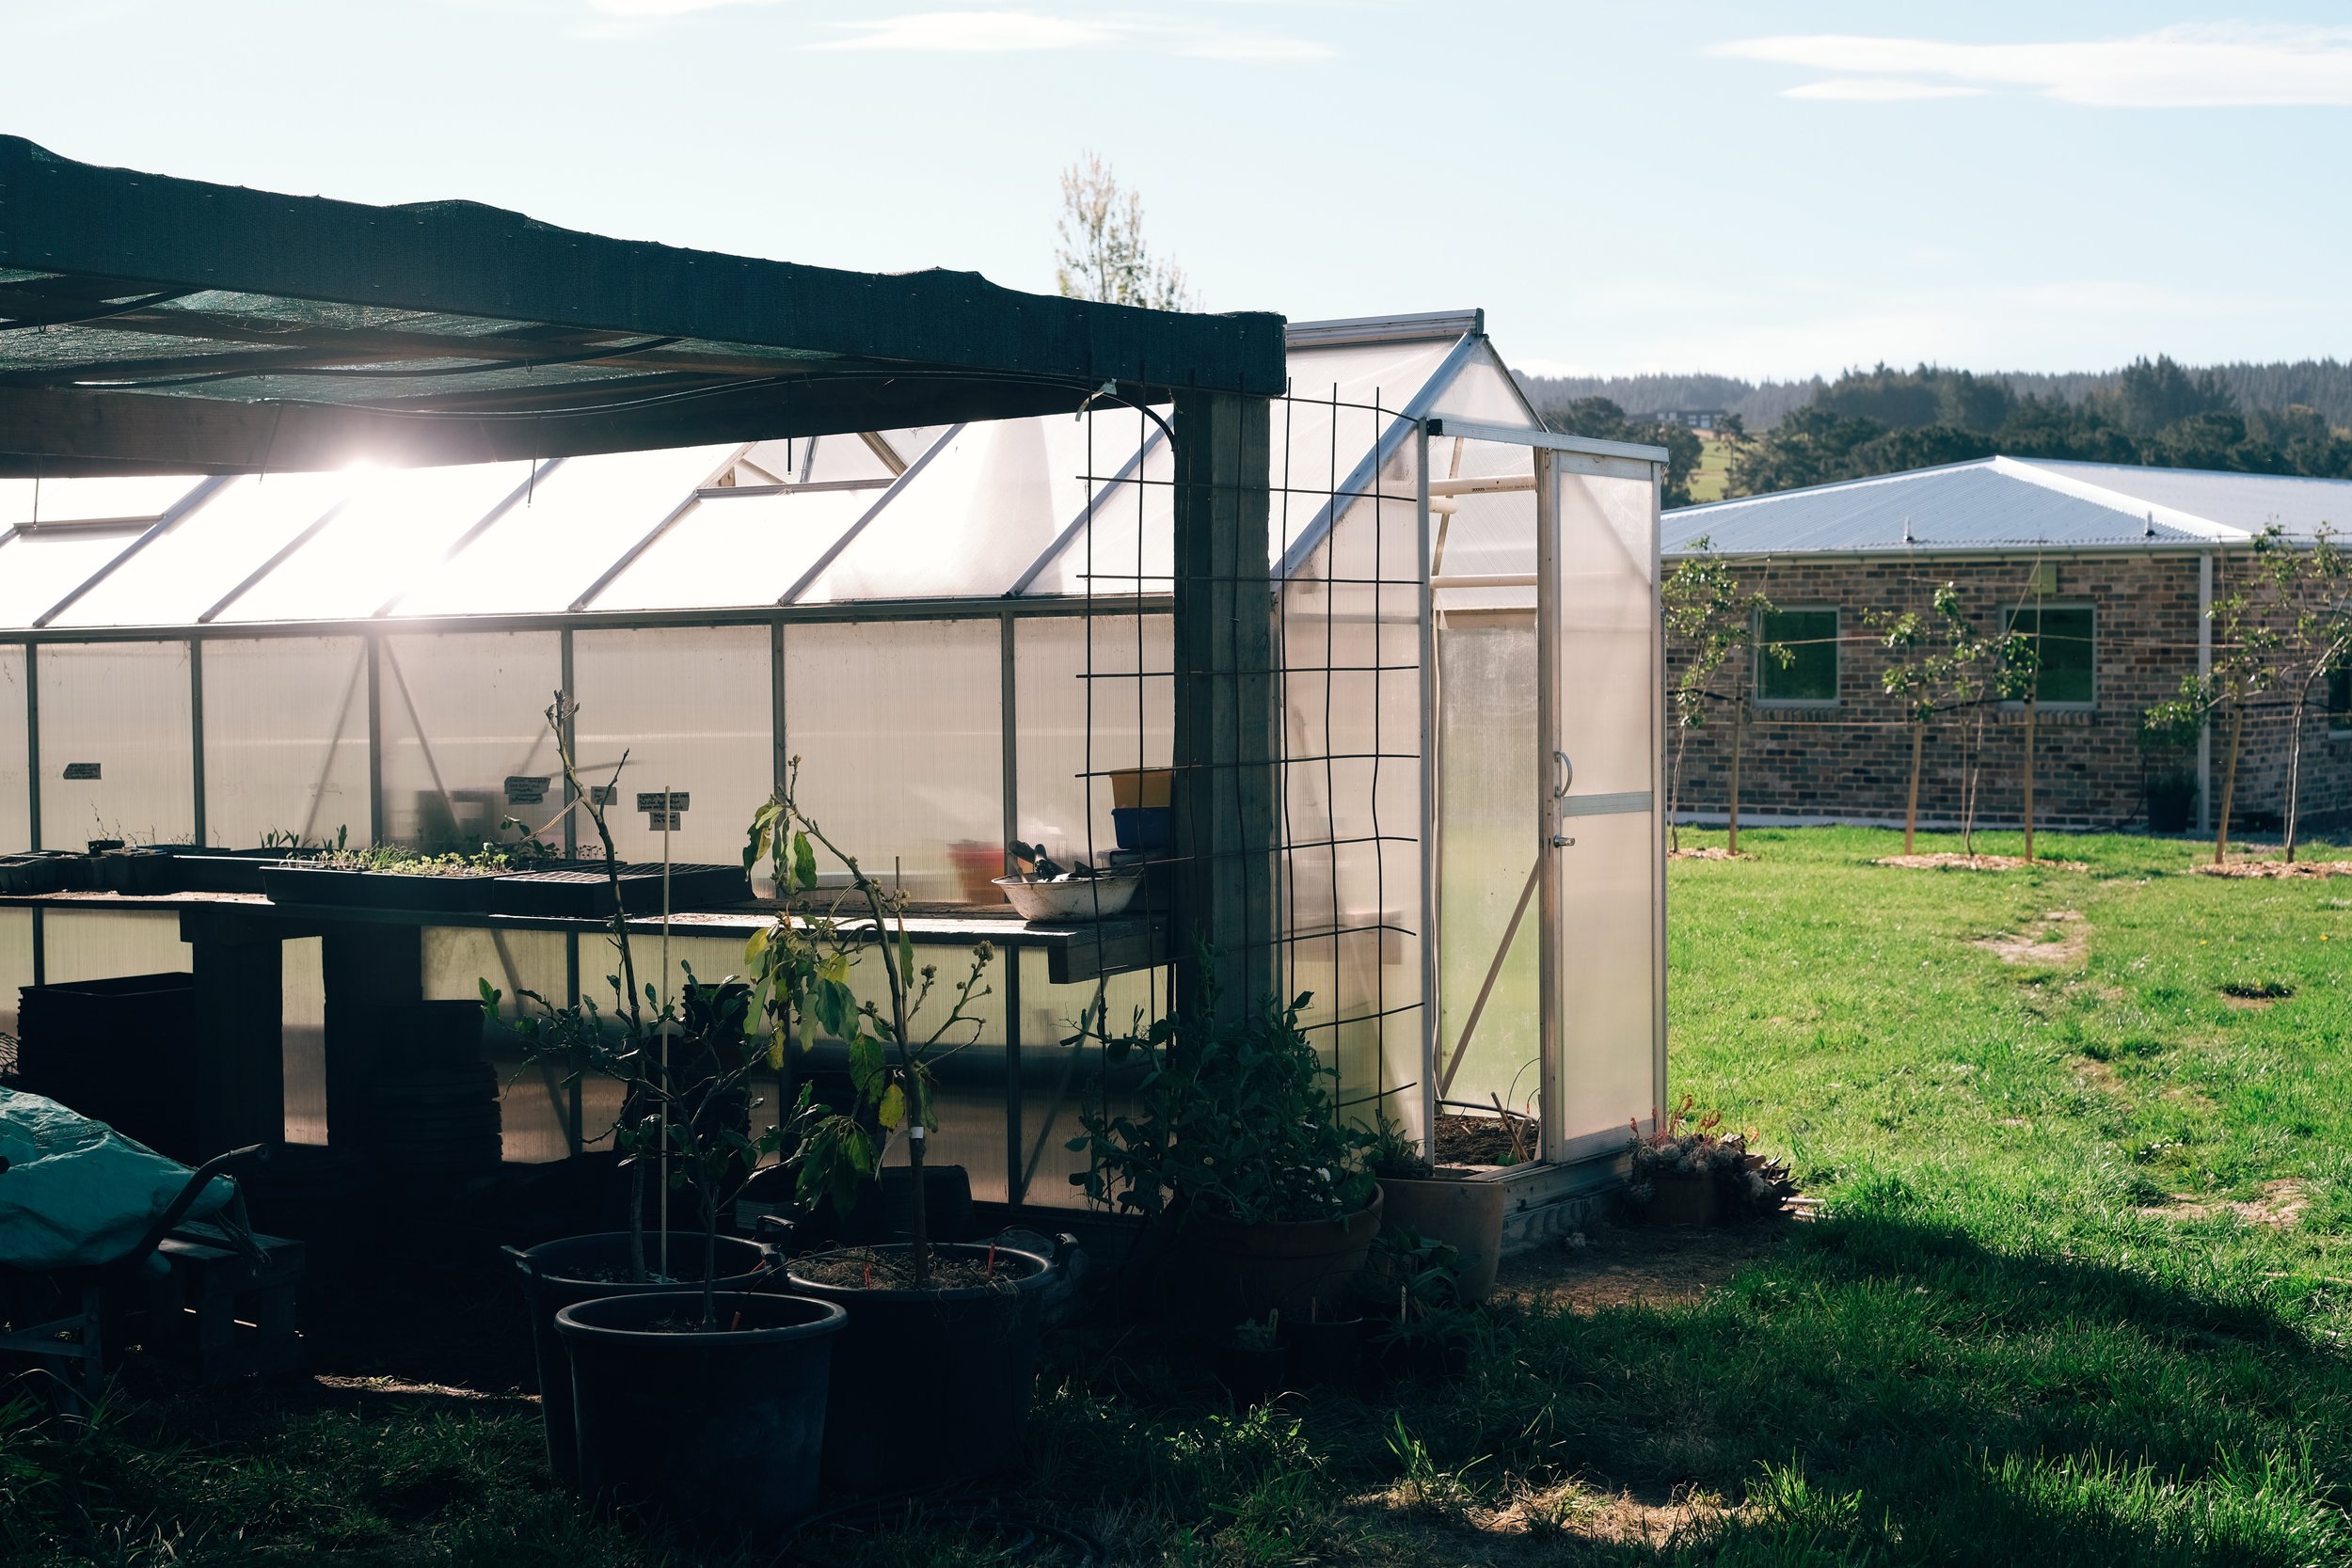
The glasshouse was a secondhand find that they dismantled in West Melton and trailered home to put together again. Behind it they have made a sheltered shade house for the perennials and shrubs Caroline is growing for the new ornamental beds. The shed to the right is a woodshed that will have compost bins made at its rear.
After living with our parents for one and a half years, Caroline and her family were able to move into their gorgeous brand new home in early winter… conveniently just a 1-minute drive from my folks. Our mum has continued farming much of the 10-acre block that makes up ‘Kapua’ (it was subdivided from my parents 30-acre property), but there was still a large amount of land which Caroline and Simon have slowly started populating with garden, orchard, chook pen, trees and vege patch.
What you see in these images doesn’t quite paint the full picture of their future plan which will see a wall built between the vege beds and the house to create a courtyard and separation between the ornamental planting and the practical. That giant tank already has new planting in front of it.
Having already implemented the use of old concrete stock water troughs in their previous property, they were lucky to procure more for this project from a neighbour. It was quite the task and made the tractor heave with effort but, after my husband drilled some drainage holes in their bases, they were quickly filled with goodness to prepare for the spring crops (which are underway in the glass house).
While largely sheltered by the house (and soon-to-be wall) from the prevailing easterly wind, Caroline got her thinking hat on when the notorious spring nor’westers started to rip through. There is a mature shelter belt nearby and further planting is in place but its a good few years before it will be effective. For delicate new plants going into the ground now, more was required.
So on request, our mum dragged great swathes of her own garden prunings down the road behind her side-by-side, delivering supple lengths of oak, poplar and hornbeam for Caroline to put to use.
It must be said that she has experimented with pruning and weaving for the garden before. I myself have an incredible rustic teepee Caroline made from mum’s prunings a few seasons ago.
Enjoy this very casual tutorial below on her process.
Much of this is based in experimentation - as is the nature of all gardening, but it might inspire some ideas for you!
1. RE BAR SUPPORTS
Caroline made use of lengths of reinforcing steel left over from their build, which she asked her husband Simon to cut into sections (as she’s not a fan of using the grinder!).
For strength, at least a third of the length is allowed for being in the ground, taking into account the height of the bed edges and then the proposed height of the protective woven surface.
2. SUPPORTS
The re bar lengths are placed at even spaces (guessed) around the exterior of the bed, taking into account the direction of the strong wind it is being formed to buffer. Caroline’s beds are circular but this would work in the same way with rectangular beds.
Caroline places her supports in the ground on the exterior of the beds as there are areas of concrete bottom in her re-used stock troughs. But this also allows bracing strength against the wind and doesn’t allow the screen to collapse over onto the plants.
3. PRUNINGS
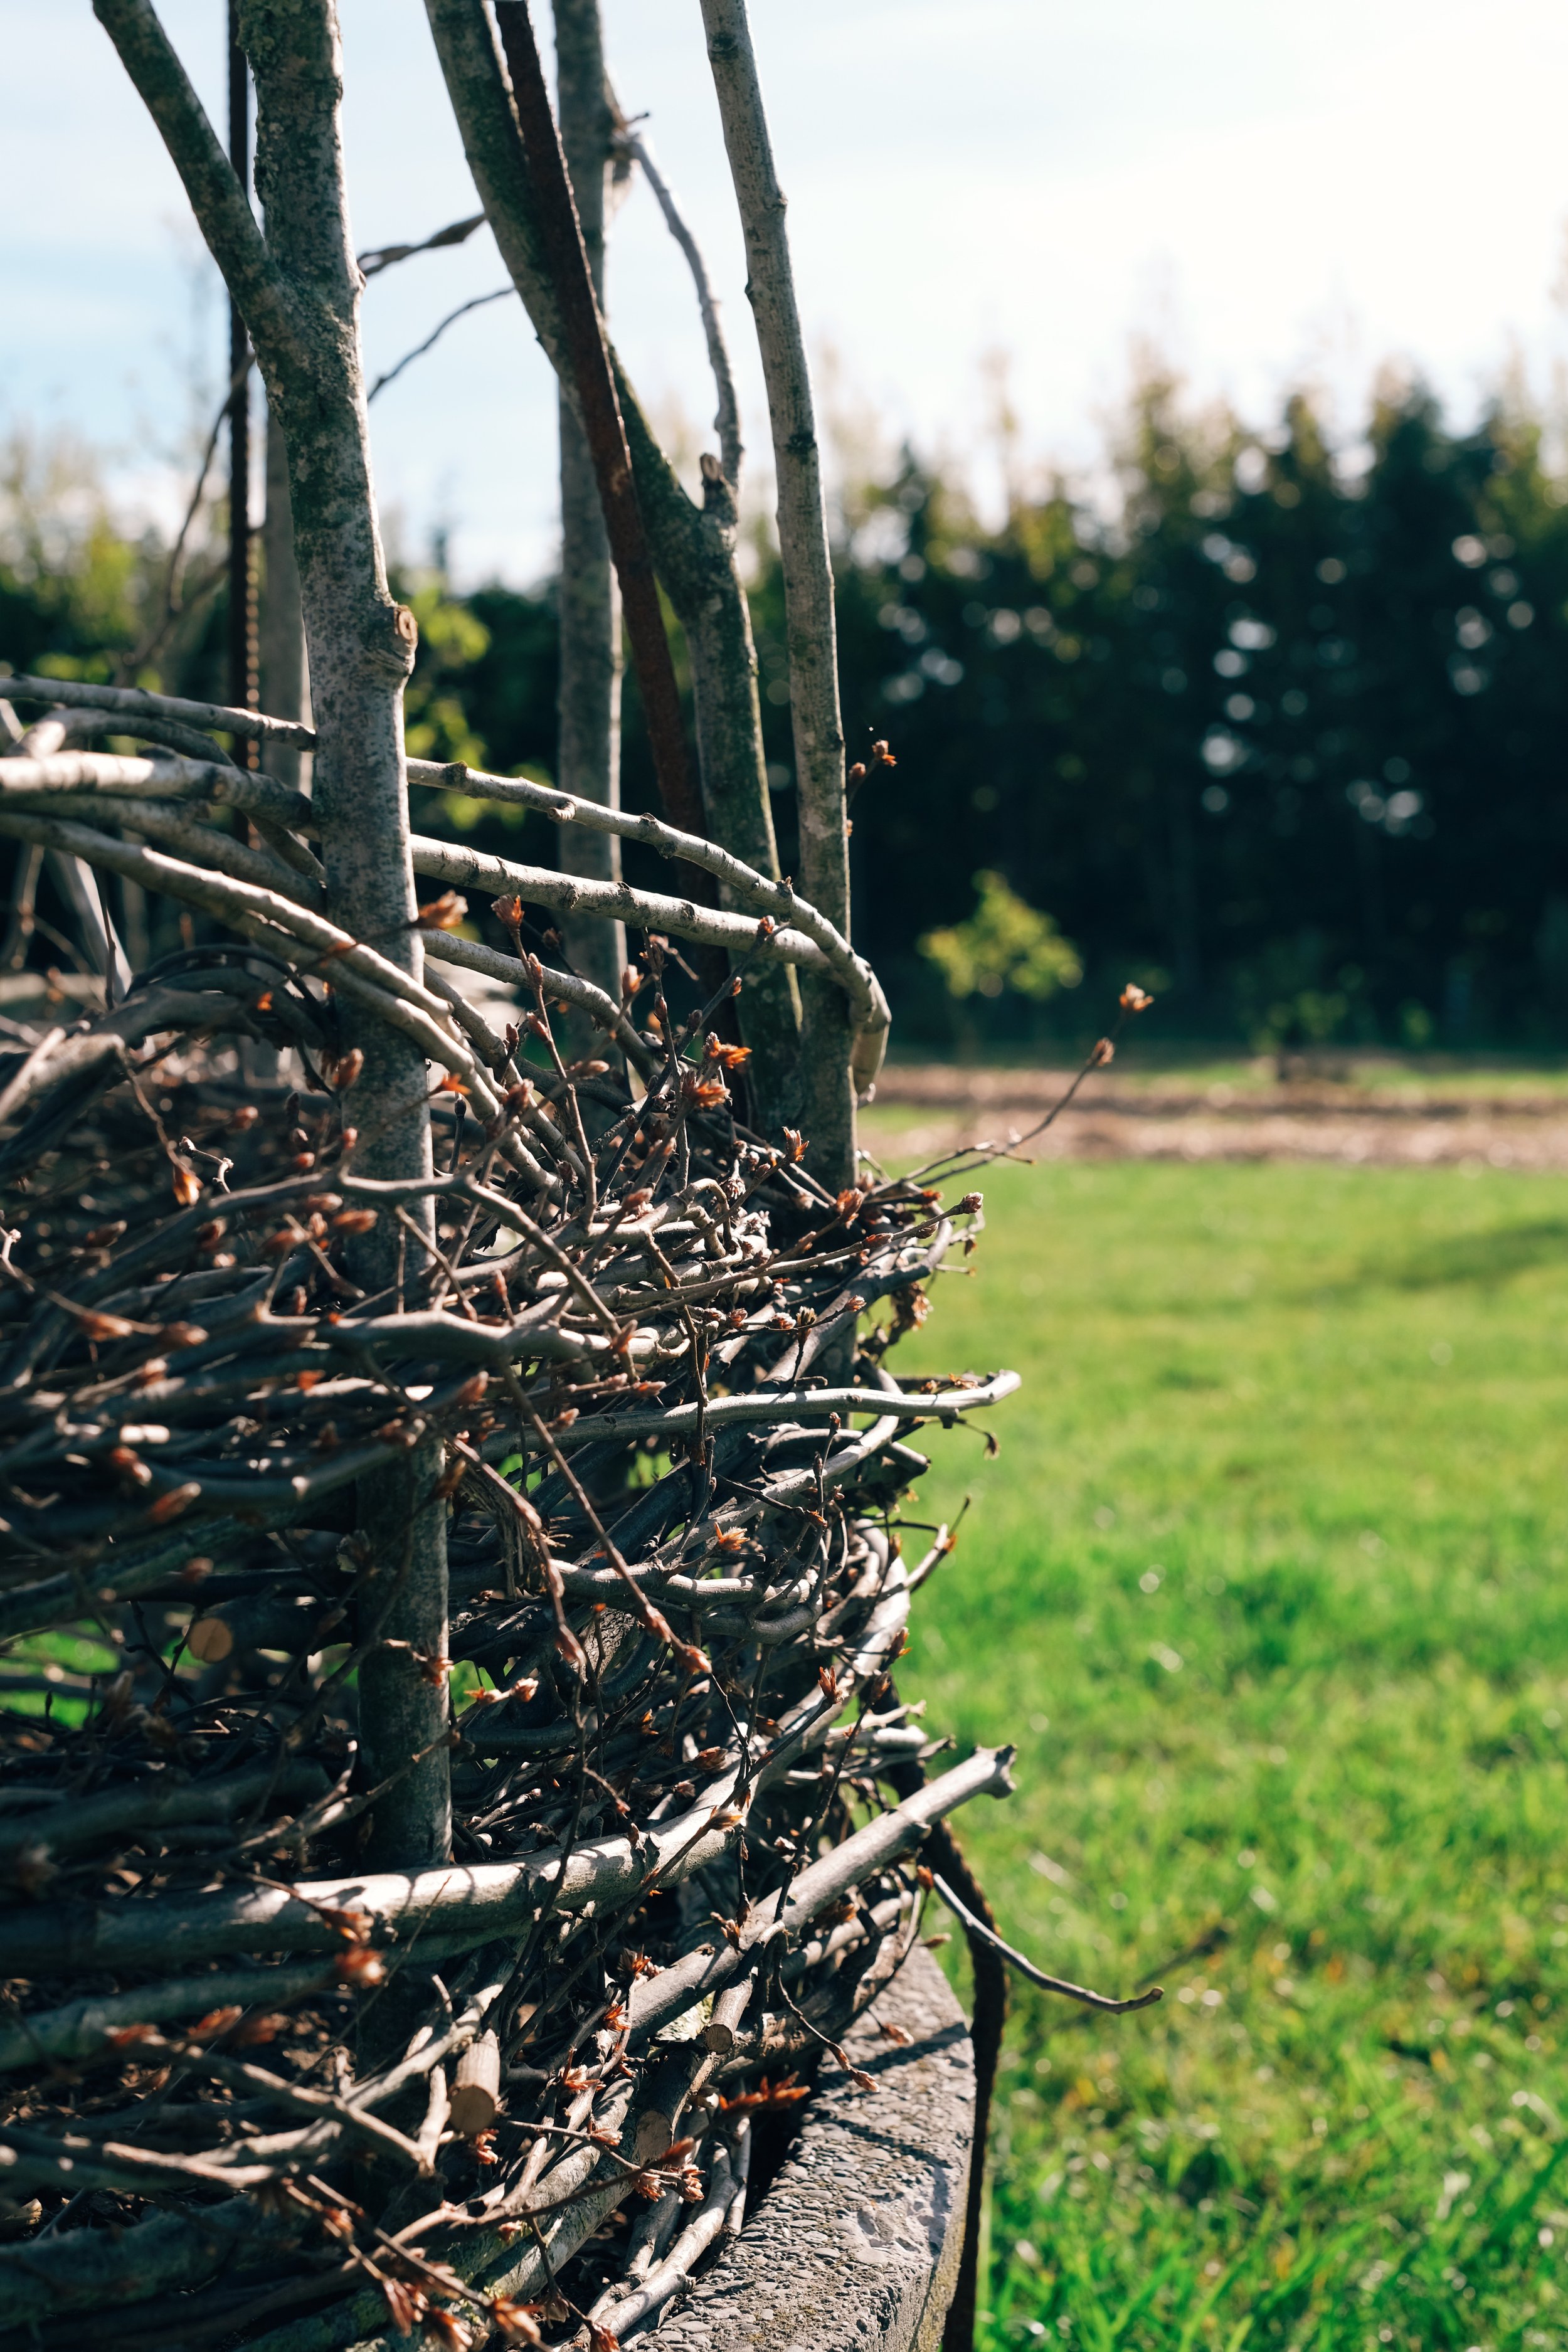
In this example, Caroline is using twiggy hornbeam prunings. She prepared the lengths first by twisting the short stems around - working from one end of the length to the other. Work with the natural direction of the stems and the nodes to wind and catch it all together. It is always best to create these woven supports using fresh supple prunings that will bend not split when weaving them.
*She has used poplar and oak prunings for some of the other beds. See images further down.
Lengths of hornbeam with short stems twisted between themselves.
4. THREADING
Caroline works from both ends of the screen at once, alternating by weaving lengths of her twisted hornbeam between the re bar supports from one end, then moving to do the same from the other.
She will commonly allow a couple of lengths of branches to be woven and stacked on the same track before alternating for the next ones.
With longer lengths she can do one layer at a time, with shorter she will make an effort to twist and weave together tips that meet to maintain strength and a wind-buffering surface.
5. GAPS ARE GOOD
In Caroline’s research, the gappy spaces that naturally occur in this imperfect process are of more benefit than a solid clean wall. The spaces filter and soften the wind, whereas a solid wall forces it to deflect up and then bounce down on the exposed edge of the planting.
Woven poplar - note layers of multiple stems on the same track.
Woven oak.
Woven hornbeam with finer stems twisted together to increase surface area.
In this bed, Caroline has used lengths of poplar pruning to create an arched dome that she plans to grow beans up. Naturally, its very possible the prunings will take root!
I’m excited to watch this gorgeous property reach it’s vision - inside and out!
I’d also encourage you to follow the ‘Kapua’ progress on instagram - there is sporadic posting for now but so much gold and inspiration for those of you looking toward creating your own rural block dream.


